Chapter 3: Bake
Fashioning a good crust is only half the challenge in baking a great pie. You want filling that’s just the right flavor and consistency, a neat crimp to hold it all together, and just the right amount of time in the oven to brown both bottom and top crusts. Learn what to do after you’ve laid down your rolling pin and selected your filling — in this case, peaches.
Bring it all together
In Crust, you learned to mix and roll your dough to create a wonderfully flaky, tender pie crust. Once you’ve mastered pie dough, you’re ready to move on to filling and baking. We’ve chosen to feature peach pie, an American classic; but what you learn here is easily transferable to any flavor of pie. And in Inspiration, we'll give you the tools you need to polish your pie presentation skills.
1. Trim the top crust
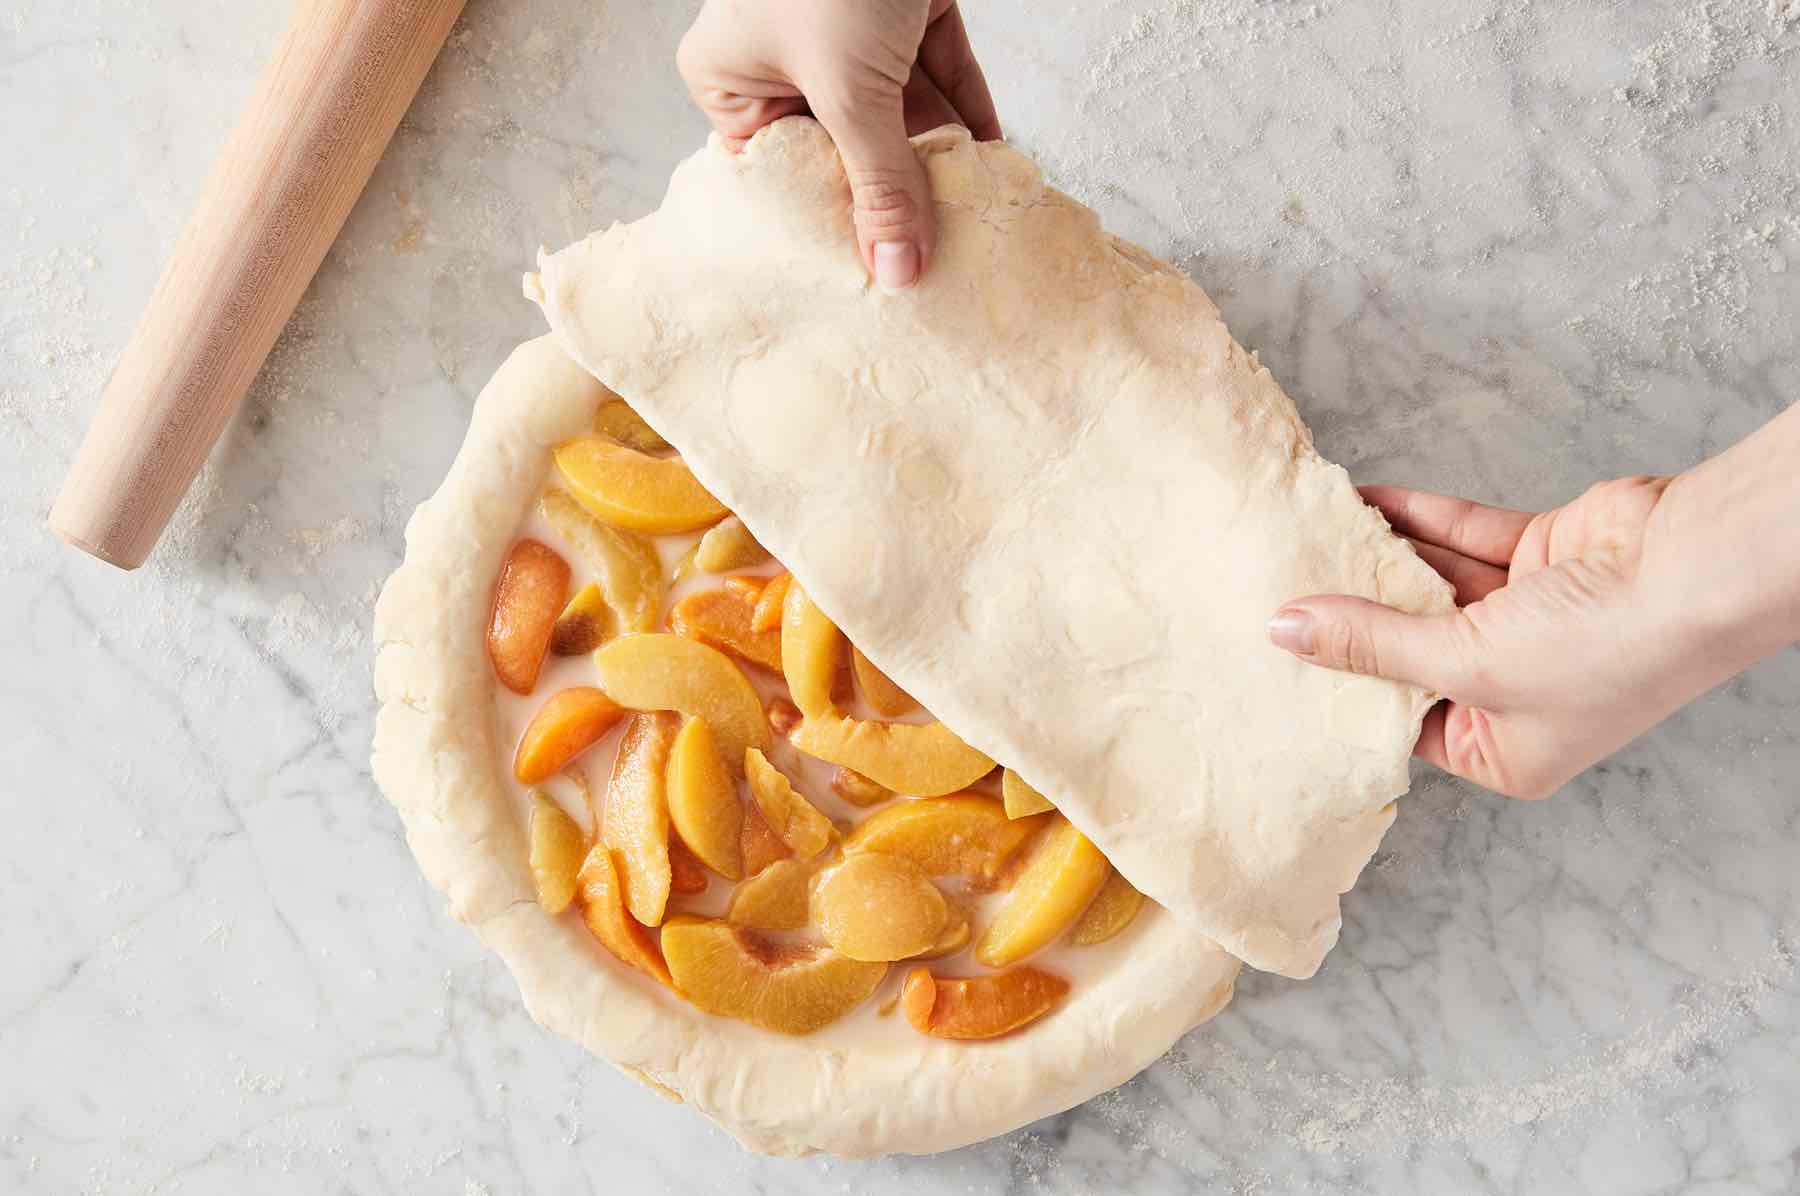
For our Double Pie Crust, use a pair of scissors to trim the bottom crust to within 1/2” of the rim of the pan. Once you've added the peach filling, roll the top crust into a 12” round, and center it atop the peaches.

2. Crimp
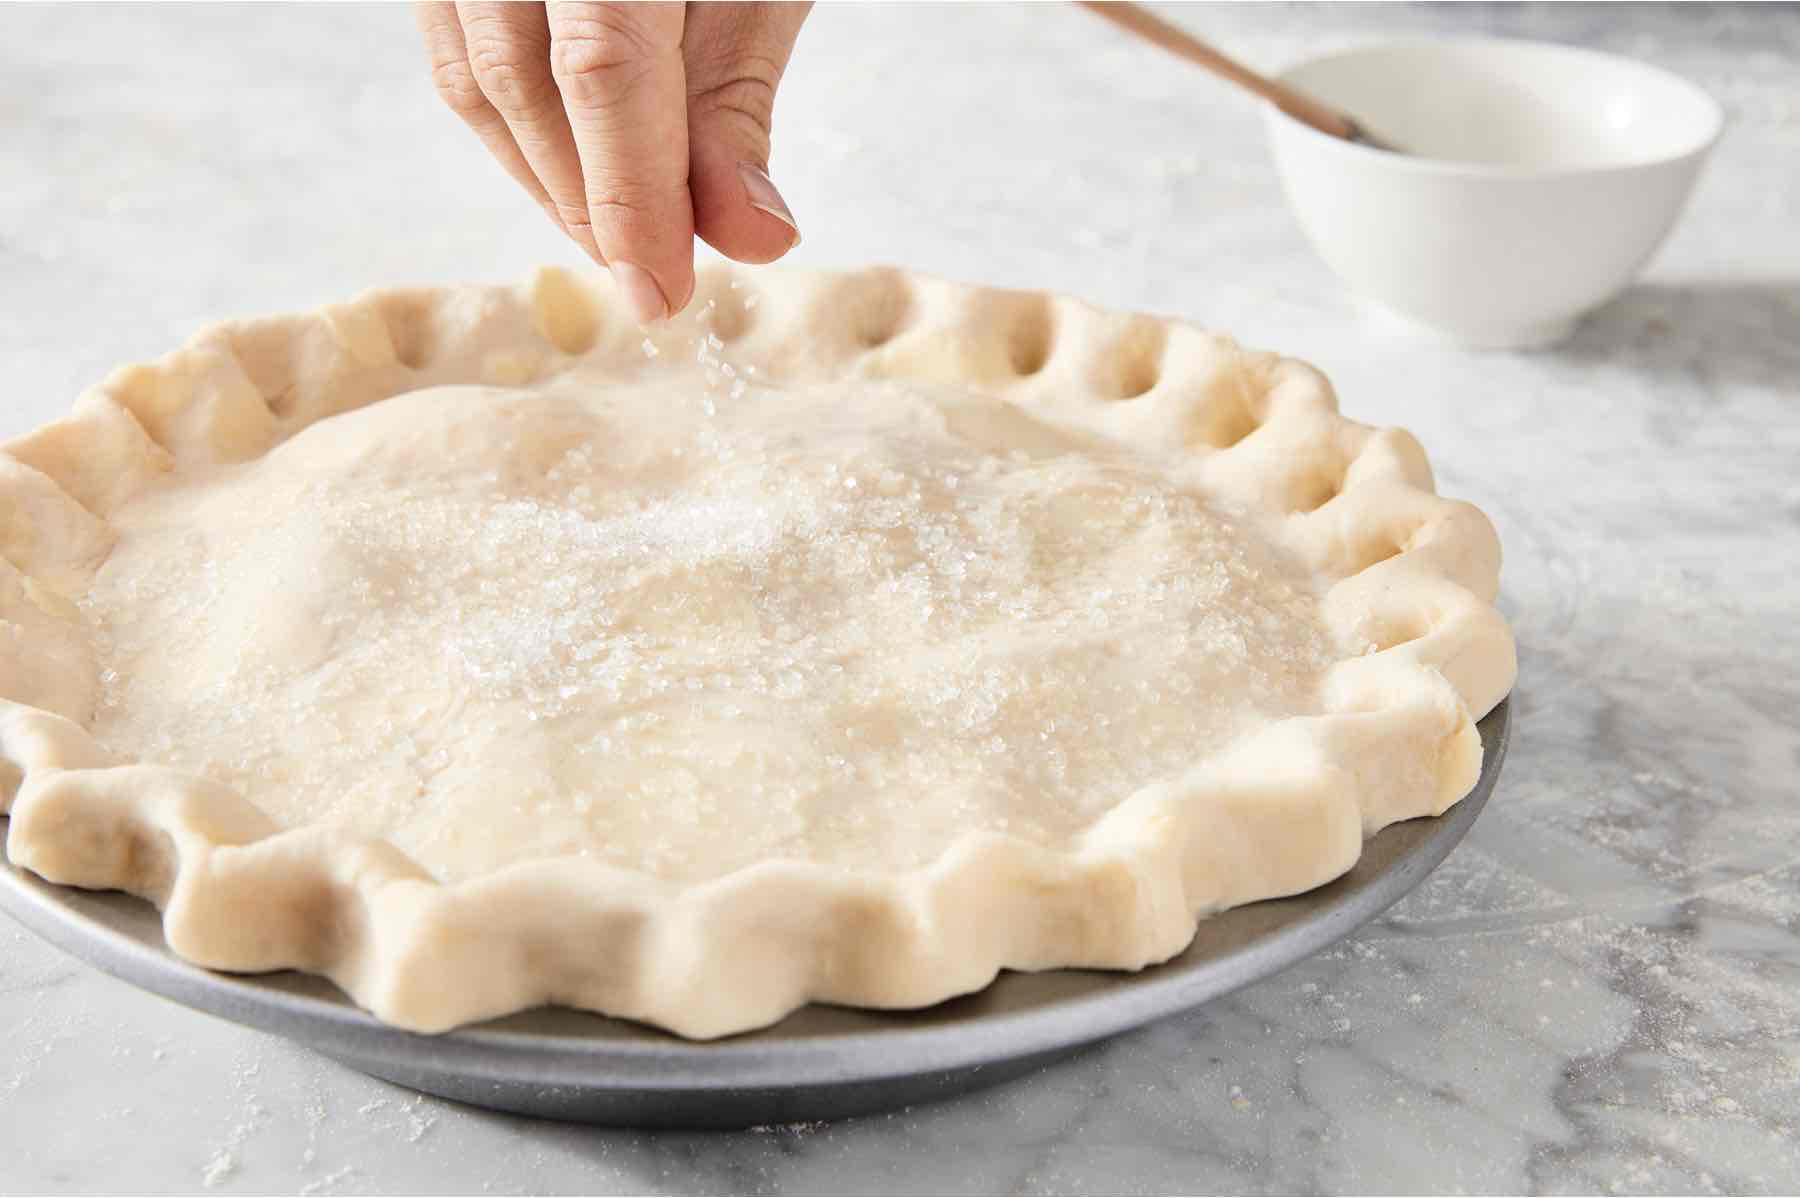
Bring the top crust down and over the edge of the bottom crust, pressing the two together to make a ridge of dough all around the inside rim of the pan. Using the tines of a fork, gently press the crust down onto the pan’s rim all the way around the circumference of the pie. Or make a taller “finger crimp”: Using the pointer finger of one hand on one side of the ridge of dough, and the thumb and pointer finger of the other hand on the other side, press to make even indentations along the entire edge of the pie crust.
Tip: At this point, it helps to return the pie to the refrigerator for 20 to 30 minutes; this chills the fat, which ultimately increases the crust's flakiness and helps the crimp hold its shape.
3. Garnish and vent
Garnish the pie, if desired, by brushing with milk or water and sprinkling with coarse sparkling sugar. Vent the pie by making a series of 3" to 4" parallel cuts in the top crust; feel free to do something more decorative if you like.

4. Bake
Preheat your oven to 425°F. Place the pie on a parchment-lined baking sheet (to catch any drips), and put the pie and baking sheet onto the lowest rack of your oven. Bake the pie for 20 minutes, then lower the temperature to 350°F and bake for an additional 60 minutes, until the filling is bubbly and the crust is golden brown. Check the pie with about 15 minutes left; if it’s already perfectly browned, tent it with aluminum foil for the remaining baking time.

Tip: Why the initial high oven temperature? Pie crust gains its flaky texture from the fat in the dough melting and producing steam — which happens most quickly and effectively at a higher temperature. Reducing the oven temperature after about 15 minutes allows the pie to bake fully without danger of burning. However, if the edge of the crust looks like it's browning too quickly towards the end of the bake, cover it with a pie shield or strips of aluminum foil.
5. Cool and enjoy!
Remove the pie from the oven, and set it on a rack to cool. The filling will be quite liquid at first, but will set as the pie rests. If you want the pie to slice cleanly, without oozing filling, allow it to cool completely before serving; this will take at least a couple of hours. To serve warm rather than at room temperature, reheat your cooled pie, tented with aluminum foil, for about 20 minutes in a 350°F oven.

Tip: What’s the best way to tell if your pie is done? For fruit pie, the top crust will be golden brown, and you’ll be able to see filling bubbling around the edges and/or through the vents. For best results, let the filling bubble for at least 5 minutes before removing the pie from the oven.
Recipes
Our favorite pie fillings
Tools
What's in our pantry?

Next: Inspiration
Once you’ve nailed the basics, enhance your pie presentation with an expert approach to stunning top crusts.
As a seasoned baking enthusiast with a deep understanding of the intricacies involved in creating the perfect pie, let's delve into the concepts outlined in the provided article on baking a peach pie. This expertise comes not only from theoretical knowledge but from hands-on experience, ensuring a comprehensive grasp of the art and science of baking.
1. Crust Mastery: In the introduction, the article emphasizes that crafting a good crust is only half the challenge in baking a great pie. Mastery over pie dough is crucial, and the importance of achieving a wonderfully flaky and tender pie crust is highlighted. This involves the process of mixing and rolling the dough, which contributes to the desired texture of the crust.
2. Filling Selection: The article suggests that after mastering the pie dough, the next step is to focus on the filling. In this case, peaches are chosen as the featured filling for a classic American peach pie. However, the skills learned are transferable to any flavor of pie, showcasing the versatility of the techniques discussed.
3. Crimping Techniques: Detailed instructions are provided on trimming the top crust, bringing it down over the edge of the bottom crust, and creating a ridge of dough around the pan. The crimping process is described, including options like using a fork or creating a taller "finger crimp." The article even offers a valuable tip to chill the pie in the refrigerator to enhance the crust's flakiness and help the crimp hold its shape.
4. Garnishing and Venting: The steps for garnishing the pie by brushing with milk or water and sprinkling with coarse sparkling sugar are outlined. Venting the pie is also covered, with suggestions for making parallel cuts in the top crust. This section encourages creativity by allowing for more decorative venting if desired.
5. Baking Process: The baking instructions provide a clear timeline and temperature guide. The initial high oven temperature is explained as essential for achieving a flaky texture in the pie crust, attributed to the melting of fat in the dough producing steam. Lowering the temperature after 20 minutes prevents burning while ensuring thorough baking. Tips for adjusting oven temperature and covering the crust if needed are also included.
6. Cooling and Serving: Proper cooling is emphasized, with advice to allow the pie to cool completely before serving for clean slices without oozing filling. The article suggests reheating for those who prefer a warm pie.
In addition to these baking steps, the article provides additional resources such as pie recipes, tips on perfecting techniques, and a list of tools recommended for a well-equipped baking pantry. This comprehensive guide caters to both beginners and seasoned bakers, offering valuable insights into the art of creating a perfect peach pie.


