Chapter 2: Crust
A well-made crust is the key to successful pie. And homemade pie crust stands head and shoulders above store-bought — yet how many of us struggle to nail a consistently good crust every time? Our test kitchen has made thousands of successful pie crusts over the years, and we’re eager to share what we’ve learned with you here.
Classic Double Pie Crust
With the many pie crust recipes out there, why did we choose our Classic Double Pie Crust? First, it uses simple ingredients, ones you’re likely to have in your kitchen: flour, fat, salt, and water. It makes a generous amount of pastry: plenty for two crusts. (Making a single-crust pie? Wrap and freeze the other half of the pastry for next time.) Finally, its combination of fats — vegetable shortening and butter — offers the best of both worlds: shortening for structure, butter for flavor and flakiness.
Ingredients
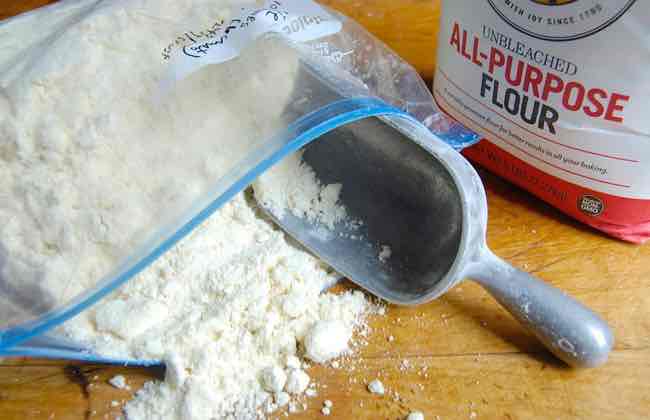
- 2 1/2 cups (297g)King Arthur Unbleached All-Purpose Flour
- 1 1/4 teaspoons salt
- 1/4 cup (46g) vegetable shortening
- 10 tablespoons (142g) very cold unsalted butter
- 6 to 10 tablespoons (85g to 142g) ice water
1. Prep your ingredients
Weigh your flour; or measure it by gently spooning it into a cup, then sweeping off any excess. In a medium-sized mixing bowl, whisk together the flour and salt. Add the shortening, working it in until the mixture is evenly crumbly, like coarse beach sand; you want everything thoroughly combined.
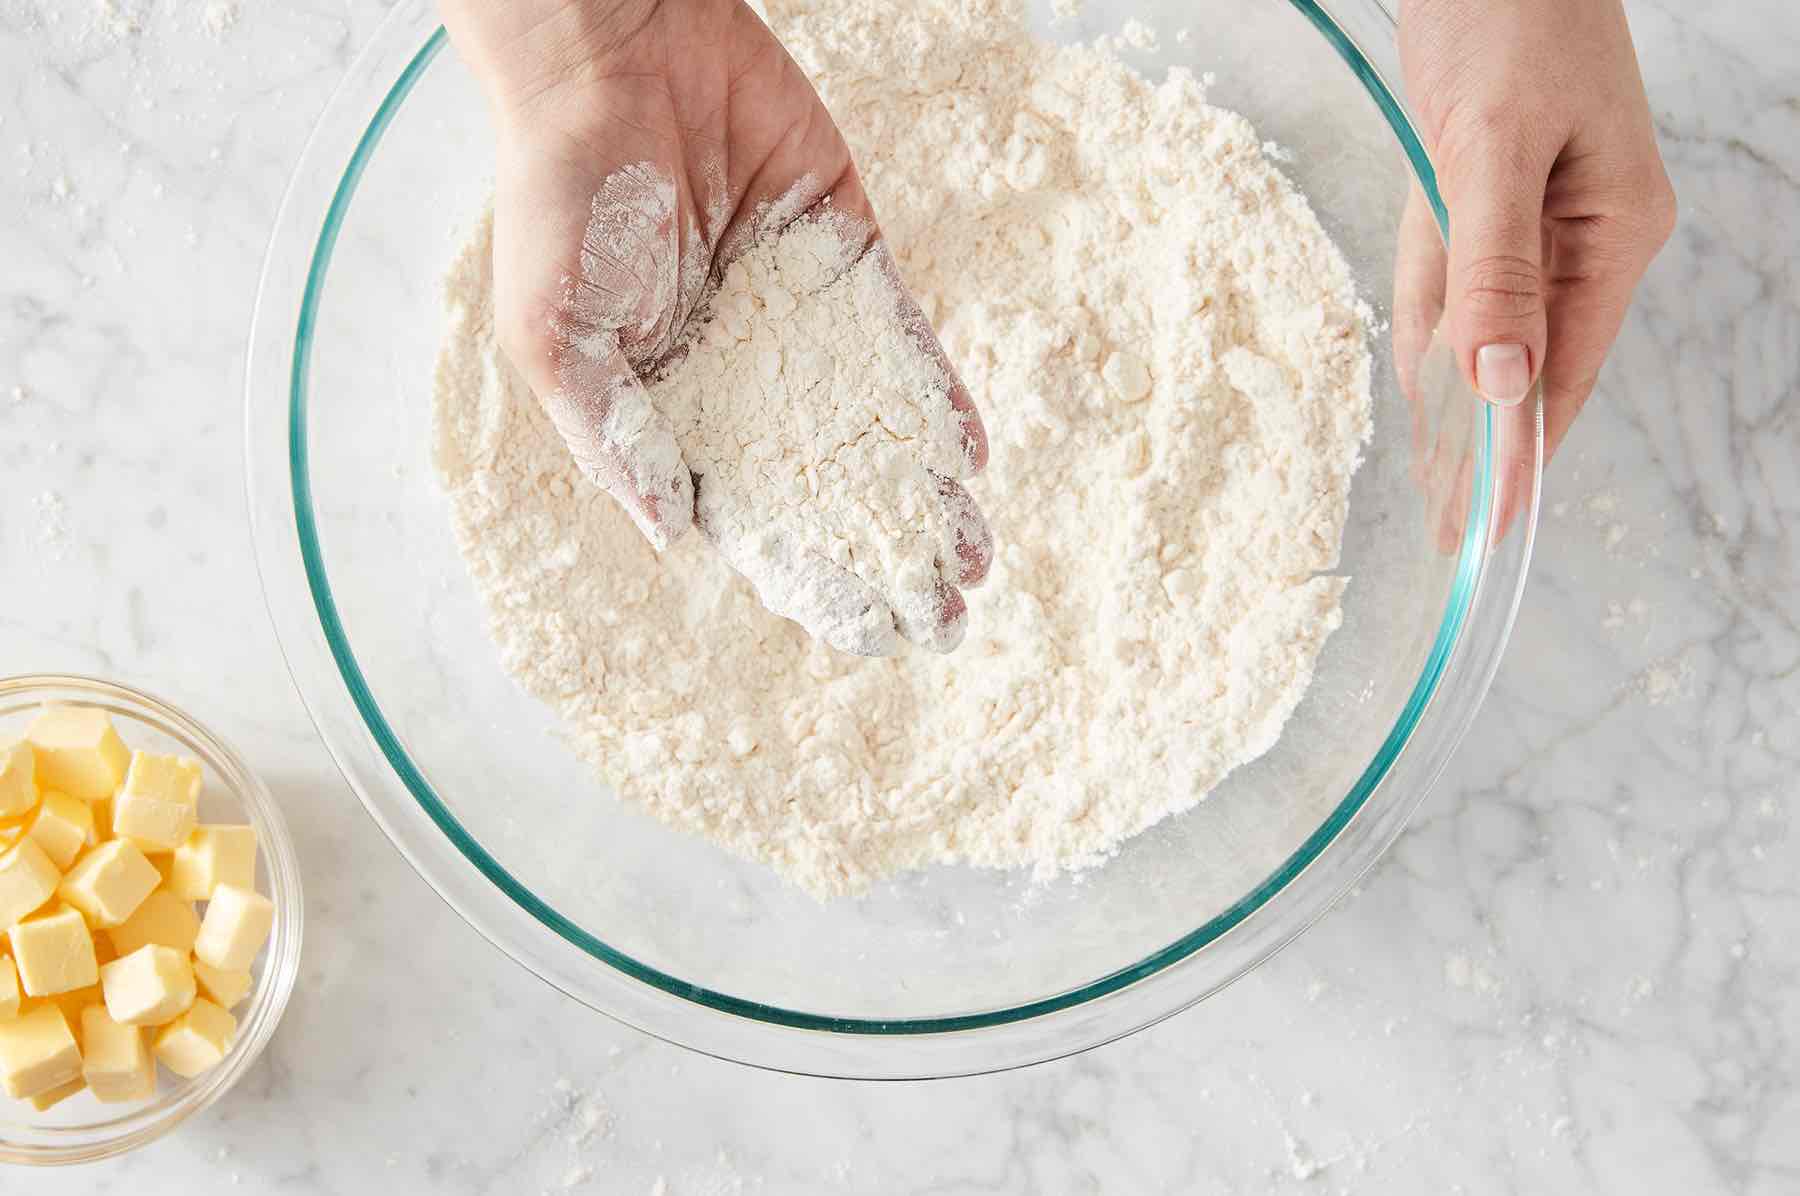
Tip: Why do we use both shortening and butter in pie crust? Shortening, thanks to its relatively high melting point, helps crust maintain its structure, preventing your pretty crimp or other decorative touches from collapsing as the pie bakes. (If you prefer not to use vegetable shortening, try our All-Butter Pie Crust.) Butter, along with its wonderful flavor, helps promote flakiness.
2. Work in the butter
Cut the cold butter into small (about 1/2") cubes with a knife or bench knife. Add the butter to the flour mixture, and work it in quickly with your fingers, a pastry cutter, or a stand mixer until the mixture is crumbly. Don't be too thorough; the mixture should be very uneven, with big chunks of butter in among the smaller ones.
Tip: Cold, flattened bits of butter, a mixture of dime-sized and smaller, help create layers of flakiness in your final crust. Every piece of butter creates a small space in the crust. As the pie bakes the cold butter melts, but not before the crust has partially set, leaving behind those small spaces — which translate to flakiness.
3. Add the water
Drizzle 4 tablespoons (57g) ice water over the flour mixture, tossing gently to combine. Add enough additional water by the tablespoon to make a shaggy, fairly cohesive mixture. It should hold together when you gather it up and squeeze it in your hand.
Tip: Beware of kneading the dough too much and/or adding too much water, as this will activate the flour’s gluten and toughen the crust.
4. Fold the dough
Transfer the shaggy mixture to a piece of parchment paper. Press it into a rough rectangle and fold the dough into thirds, like a business letter. If necessary, spritz any dry areas with cold water and flatten and fold again, repeating the process until all errant bits of dough have been incorporated. Folding the dough in this fashion will create more flaky layers in your final crust.

5. Divide and chill
Divide the dough in half. Gather each piece into a rough disk. Run the disks edgewise along a floured surface to smooth the sides, like you’re rolling a wheel. The smoother the edges now, the rounder your crust will be when rolled. Wrap the crusts in plastic or your favorite reusable storage wrap. Chill in the fridge for 30 minutes, or up to overnight.
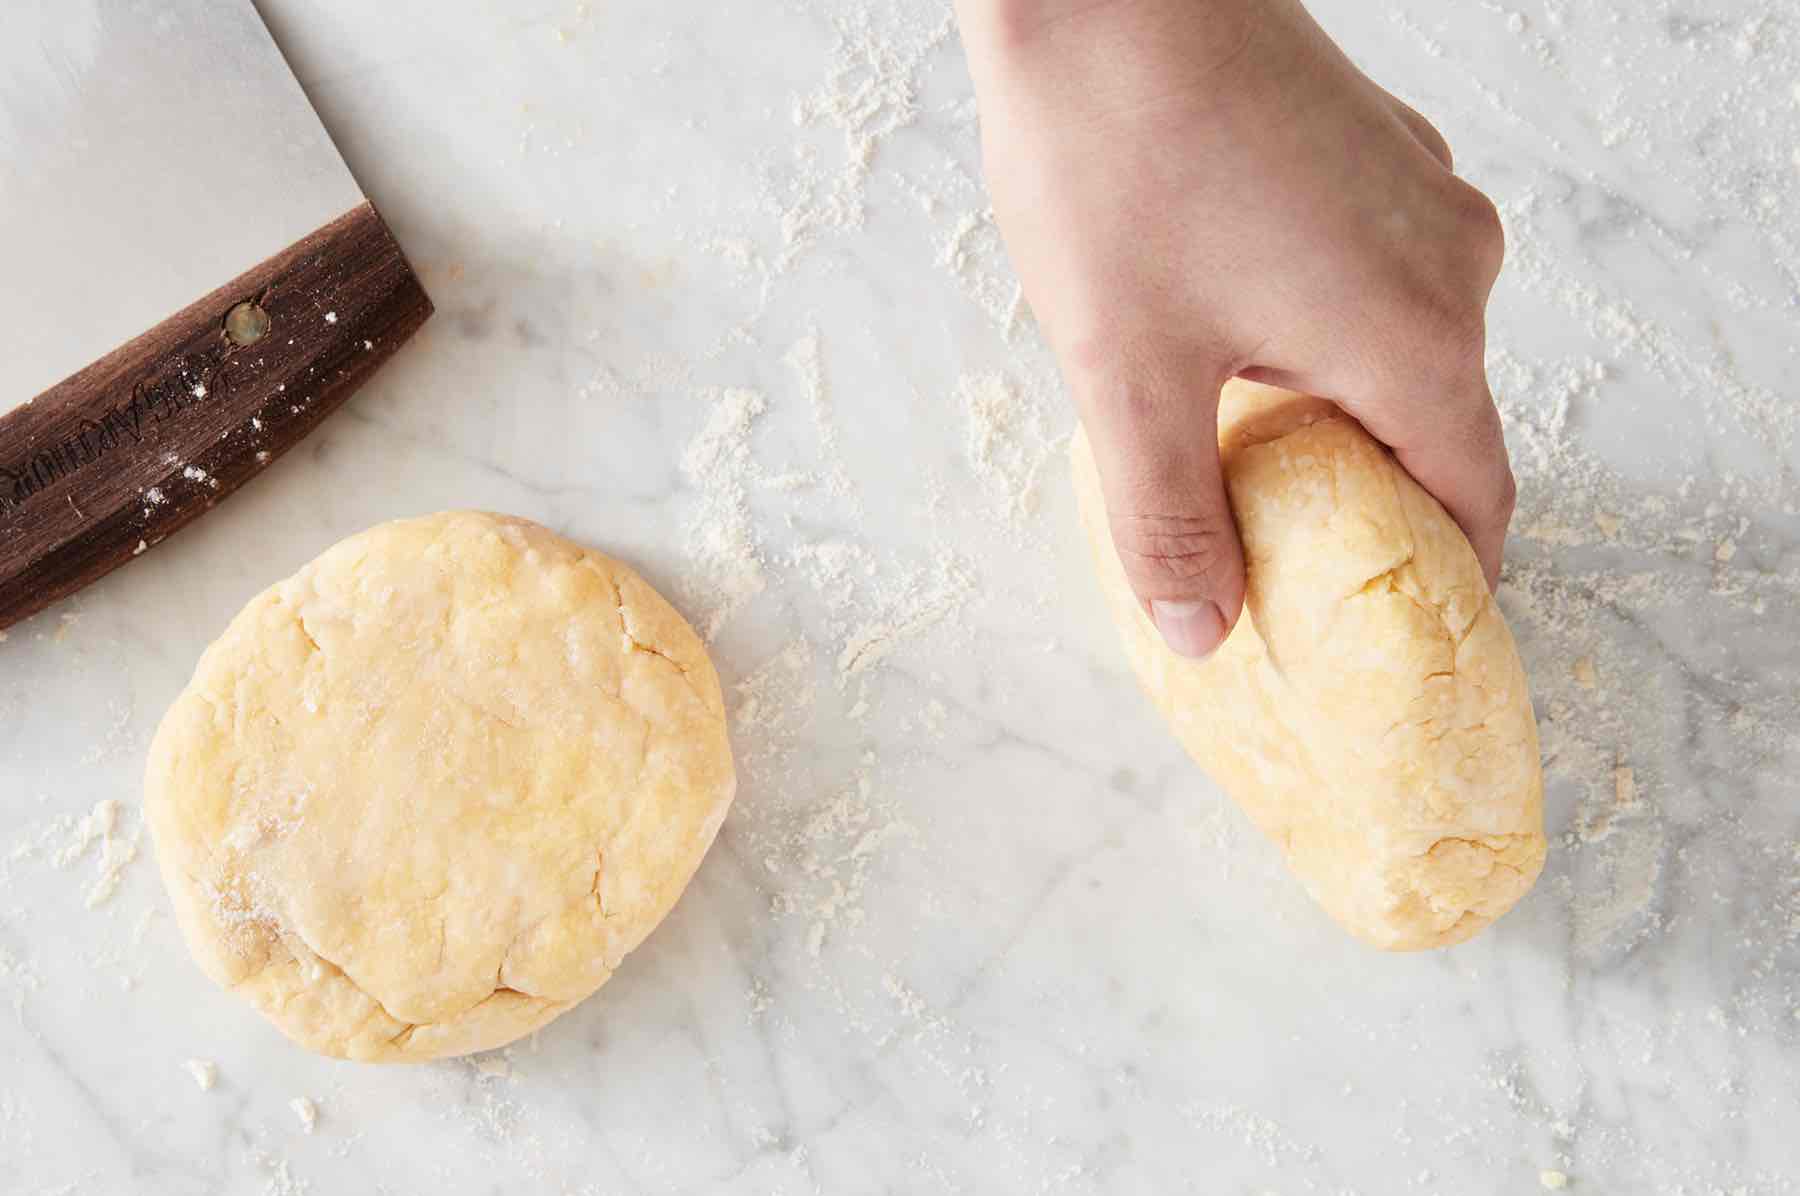
Tip: Chilling hardens the fat in the dough, which will help the crust maintain its structure as it bakes. And the short rest before rolling relaxes the dough’s gluten, helping prevent a tough crust. If you want to make your pie later, wrap the pastry disks in aluminum foil over their first wrap, and freeze for up to two months.
6. Roll out the dough
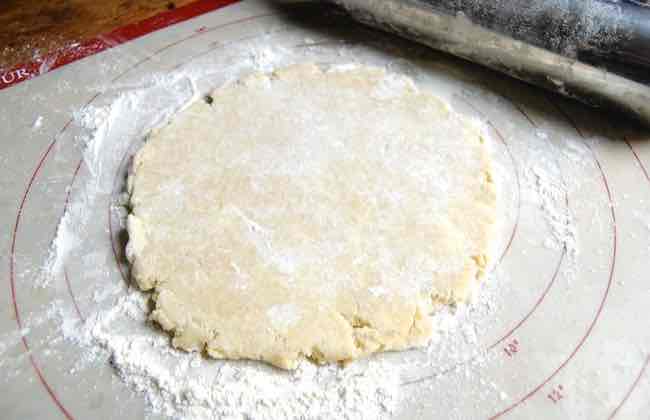
When you're ready to make pie, remove the crusts from the refrigerator or freezer, leaving them wrapped. Allow to thaw (if frozen) or warm a bit at room temperature (if chilled longer than 30 minutes), until softened enough to roll but still cold to the touch. Place the crust on a floured work surface; our silicone rolling mat is a great choice. Roll one piece of pastry into a 12" to 13" round. As you roll, you’ll notice big chunks of flattened butter in the pastry; that's a good thing, as they’ll translate to flaky layers.
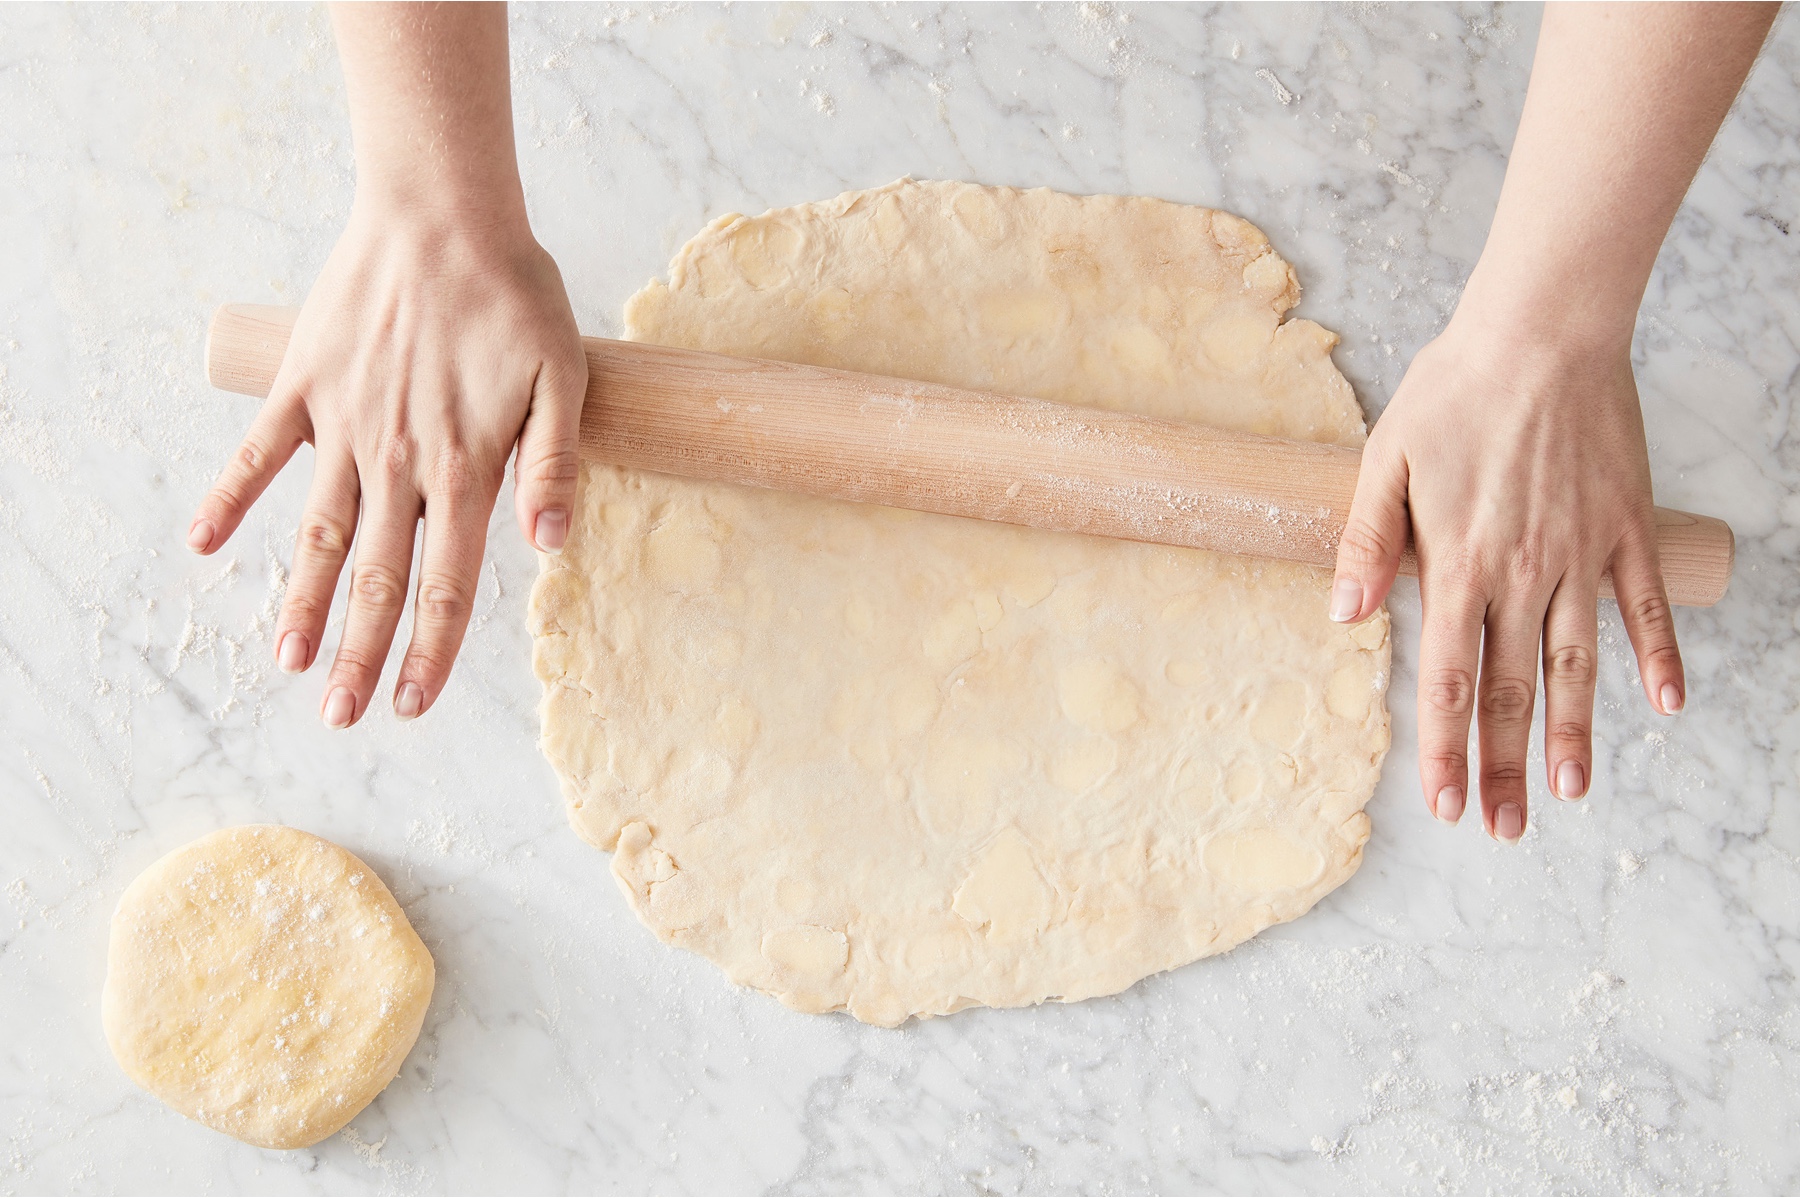
Tip: As you roll, regularly lift the pastry and move it around on the work surface to make sure it's not sticking; add a light dusting of flour underneath as needed. Roll from the center outward, using short strokes; rolling back and forth can result in a tough crust. If the pastry cracks, gently push it back together, dipping your finger in water to smooth it out. If it develops severely ragged edges, try to gently roll the ragged parts toward one another so that they meet. If the cracks around the edges are minor, ignore them. Those imperfections will disappear when you join bottom and top crust to crimp.
7. Transfer to the pan
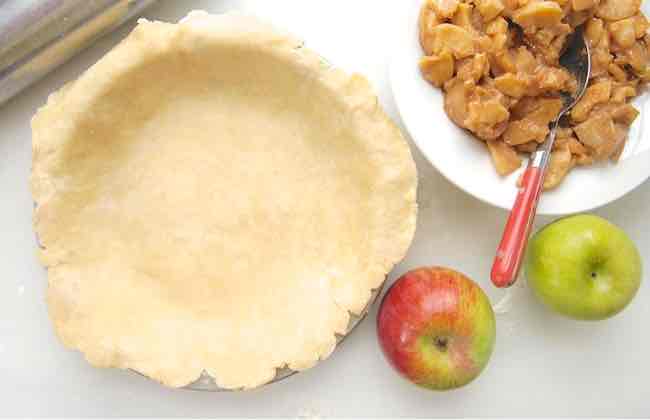
Lightly grease the pie pan with non-stick spray; this will make taking slices out of the pan easier later. Fold the crust in quarters and place it in the pan with its tip in the very center of the pan; then unfold and settle it gently in the pan. Or simply pick it up with a large spatula and move to the pan. Tent the crust with plastic wrap or the covering of your choice, and place it in the refrigerator while you make your filling.
Recipes
Our favorite pie crusts
Perfect your crust technique
Tools
What's in our pantry?

Next: Bake
Your crust is ready — what next? Filling and baking, of course! Discover tips and techniques for your favorite types of filling, then learn how to put everything together to bake your best pie ever.
As a passionate baking enthusiast with extensive hands-on experience in crafting delectable pies, I can assure you that achieving the perfect pie crust is an art that requires precision and a deep understanding of the ingredients involved. Over the years, I have honed my skills in the realm of pie crusts, experimenting with various techniques and recipes to consistently deliver outstanding results.
Now, delving into the content you provided, let's break down the key concepts and tips highlighted in the article:
Classic Double Pie Crust Ingredients:
-
King Arthur Unbleached All-Purpose Flour (2 1/2 cups): This flour choice is a crucial component, providing the structure for the crust.
-
Salt (1 1/4 teaspoons): Balances the sweetness of the filling and enhances overall flavor.
-
Vegetable Shortening (1/4 cup): Contributes to the crust's structure, ensuring it maintains its shape during baking.
-
Unsalted Butter (10 tablespoons): Adds flavor and contributes to flakiness.
-
Ice Water (6 to 10 tablespoons): The cold temperature is essential for maintaining the integrity of fats in the crust and preventing gluten activation.
Pie Crust Preparation Steps:
1. Prep Your Ingredients:
- Emphasizes accurate measurement of flour.
- Explains the role of shortening (structure) and butter (flavor and flakiness) in the crust.
2. Work in the Butter:
- Cutting cold butter into uneven pieces creates flakiness in the final crust.
- Large and small butter pieces create layers during baking, resulting in a flaky texture.
3. Add the Water:
- Gradual addition of ice water creates a shaggy yet cohesive mixture.
- Warns against kneading too much or adding excessive water to avoid toughening the crust.
4. Fold the Dough:
- Folding the dough in a specific manner enhances flakiness by creating layers.
- Addresses dry areas with cold water during the folding process.
5. Divide and Chill:
- Chilling the dough hardens fats, maintaining crust structure during baking.
- Resting the dough before rolling relaxes gluten, preventing a tough crust.
6. Roll out the Dough:
- Rolling technique emphasized for maintaining flaky layers.
- Tips on preventing sticking and cracking during the rolling process.
7. Transfer to the Pan:
- Greasing the pan and handling the crust with care ensure easy removal of slices.
- Refrigerating the crust while preparing the filling is recommended.
Additional Information:
-
Recipe Variations: The article provides links to other pie crust recipes, including single pie crust, all-butter pie crust, no-roll pie crust, whole wheat pie crust, and gluten-free pie crust.
-
Tips and Techniques: Additional tips are offered, covering topics such as using a stand mixer for pie crust, making the best pie crust, flavored pie dough, and make-ahead pie crust.
-
Tools: A list of tools used in the process is provided, including a rolling mat, instant ClearJel, rolling pin, pie chain, pie crust shield, and a classic King Arthur pie pan.
In the upcoming chapter, the article teases the next steps: filling and baking, promising to share tips and techniques for creating the best pies. With this comprehensive guide, even those who struggle with pie crusts can elevate their baking game and produce pies that stand out in both flavor and texture.


